8
It’s easy to know how to Uninstall Parallels on Mac, whether you need to make room on your device or switch to a different virtualization programme. A lot of people use Parallels Desktop, a piece of software that lets you run Windows or another OS along with macOS. Should you need to delete it for any reason, this guide will show you how. When you uninstall Parallels Desktop, you don’t just get rid of the programme; it leaves behind files that can make your system slower.
If you carefully follow these steps, you can make sure that Parallels Desktop is completely removed from your Mac. This not only makes more room on your disc, but it also makes sure the switch goes smoothly. This guide will help you properly remove Parallels, whether you want to use a different virtualization tool or no longer need it. In order to successfully how to Uninstall Parallels on Mac, all you have to do is follow the steps explained here.
What is Parallels on Mac
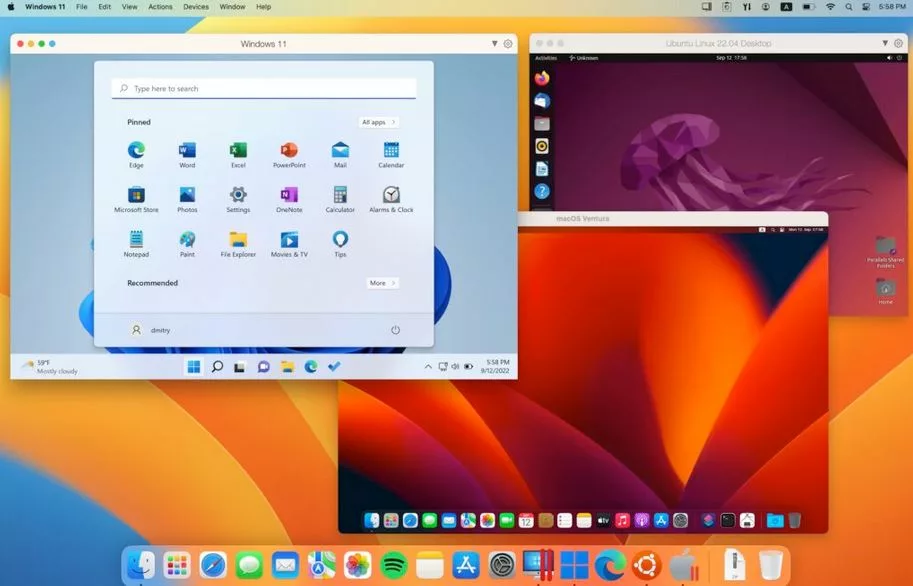
The useful Parallels for Mac app lets you use Windows and other OSes along with macOS. That’s like having a different part of your computer where you can use Windows apps without switching the whole thing on. This means that you can easily use apps from both macOS and Windows at the same time. This is great for people who need to use apps from both systems.
You don’t have to buy extra gear or split up your hard drive to run Windows when you use Parallels. It adds Windows features to your Mac process without any problems, which helps you get things done faster and easier. Parallels is a useful tool that makes life a lot easier, whether you’re a worker who needs to use certain Windows program or just someone who likes being able to work on different computers.
How to Uninstall Parallels on Mac
Uninstalling Parallels Desktop

- Shut down your virtual machine and quit Parallels Desktop.
- Ensure all virtual machines are fully shut down.
- Open Finder and navigate to Applications.
- Locate the Parallels Desktop icon.
- Drag the Parallels Desktop icon to the Trash.
- Alternatively, right-click on the icon and choose “Move to Trash.”
- If you obtained Parallels Desktop from the App Store, you can uninstall it directly from the App Store Purchases list.
- Empty the Trash to permanently delete the Parallels Desktop application from your Mac.
Removing Virtual Machines (Optional)
- Open Finder and press Command+Shift+G.
- Enter the following path and click
- Go: ~/Library/Virtual Machines
- Locate the folder for the virtual machine you want to delete.
- Each virtual machine has a separate folder named after it.
- Drag the folder for the virtual machine to the Trash.
- Empty the Trash. This will permanently delete the virtual machine and all its associated files.
Benefits of Uninstalling Parallels
- Performance Improvement: Getting rid of Parallels Desktop can free up system resources like CPU, RAM, and storage space, which could make the Mac run faster and respond more quickly.
- Stability: Removing Parallels Desktop can get rid of any possible problems or compatibility issues it might have with other software or system parts. This makes the Mac more stable and reliable.
- Better security: Getting rid of Parallels Desktop makes the system less vulnerable to attacks because there are fewer virtualization parts that bad software or exploits could use.
- Simplified Backup and Maintenance: When you install fewer apps, it’s easier and takes less time to do backups and system maintenance because there are fewer parts to handle and keep an eye on.
- Cost Savings: If Parallels Desktop was a paid software membership, uninstalling it can save you money because you won’t have to pay for the subscription anymore.
- Personalization and customization: Getting rid of Parallels Desktop lets Mac users make their experience more fit their wants and tastes, without having to keep up with virtualization software they might not use often.
- Less disc use: Parallels Desktop and the virtual machines that work with it can use up a lot of disc space. By removing it, you can use this room for other things, like storing files or installing other program.
Conclusion
In conclusion, getting rid of Parallels on your Mac is easy and can help you clean up your computer and free up space on your storage. Simply follow the steps given above to safely get rid of Parallels Desktop and all the files that are connected to it from your Mac. Doing this will keep your computer in good shape and make sure it works well.
Whether you want to try a different virtualization option or believe you no longer require Parallels, properly uninstalling it can help you organize your digital office and make your system run faster overall. Check for any leftover Parallels files or folders after the shutdown is complete. Please don’t hesitate to call Parallels support if you have any issues during the process. By doing these things, you can confidently say goodbye to Parallels and keep using your Mac without any problems.
Question and Answer
I’m encountering issues while uninstalling Parallels Desktop. What should I do?
If you’re having trouble uninstalling, you can talk to their support team or look at their online help tools. They are there to help you with any problems you have.
Will uninstalling Parallels Desktop affect my virtual machines and data?
It is safe for your virtual machines and files when you remove Parallels Desktop. Anyway, it’s smart to save a copy of them before you remove them, just in case. You won’t lose anything important if you put safety first.
Are there any other methods to uninstall Parallels Desktop?
Without a doubt! In order to ensure that the process of uninstalling Parallels Desktop is complete and comprehensive, you can utilise third-party applications like AppCleaner or CleanMyMac to totally eliminate Parallels Desktop along with all of its associated files and settings.
You Might Be Interested In








Leave a Reply